It’s been the La Nina affected summer, beyond-stupidly-stinking hot in the west, constantly cold SE winds in SA with a once-in-a-million years tropical downpour that drowned the Outback and Eyre Peninsula, and elsewhere, hit and miss rain and onshores in the east. Cray, cray weather! It’s enough to drive a boy or girl to tears, when all they want to do is visit the beach! In this two-part summary of basic beach-driving fact, we’ll explore some tried and proven methods of reading the beach and conditions, getting your fourbie ready and having a whale of a time on your favourite stretch of 4WD-navigable coast.
- Tyre Pressure
So many people come to grief on a beach because they’ve been either too lazy to spend five minutes at day’s start to let tyres down or ignorant of the benefits. Invest the time now, because later it might cost you a whole lot more.
But the question is how much air?
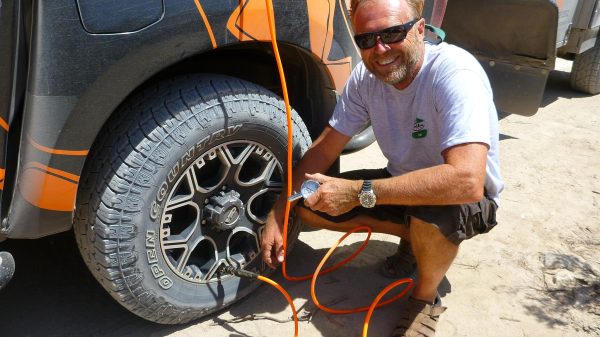
The answer to that isn’t simple anymore because wheel sizes have changed a lot in recent years and because of bigger brake fitments, wheel sizes have had to go up to accommodate them. I’ll say it right now that if you’re running a stock set of 18” you will have trouble.
As wheel sizes increase, sidewall heights decrease as manufacturers achieve their optimal gearing point (wheel diameter Vs differential ratios). The trend towards bigger wheels has meant tyres have less volume now and that compromises the footprint length. Length is everything.
Let’s dispel one old furphy and that is when you let a tyre down the sidewall bulge contributes to the flotation. No-Siree Bob. To have a tyre’s sidewall contribute anything to this exercise it’ll need to be flat.
As you let the air out, the tyre’s footprint length will increase and eventually you’ll arrive at optimal pressure for the sands on that day. That pressure varies, vehicle-vehicle, beach-beach so you’ll need to do some experimenting. You’ll know when you get there because suddenly the vehicle will be wafting along instead of trying to dig a ditch.

So what’s the bogey with 18”?
Shorter sidewall height brings less flexibility so the sidewall doesn’t exhibit its usual suspension-aiding characteristics of absorbing the bump before the springs go to work, so you can expect a rougher ride and more “chattering” or axle-tramp if the pressures are wrong and you’re driving like a twit.
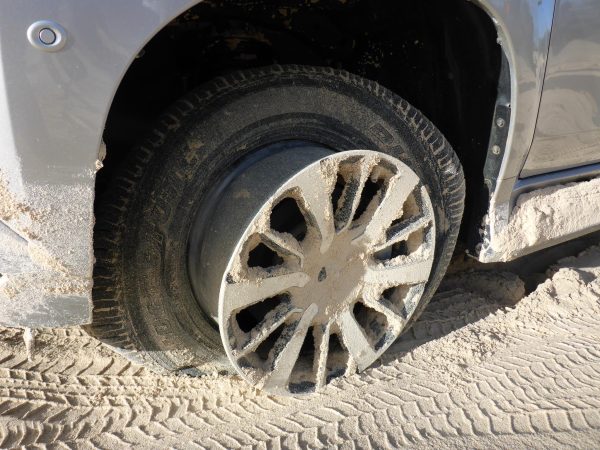
The other challenge will be keeping the tyre on the rim at previously accepted sand-driving pressures. As you turn in and out of corners there’s a lot of lateral load placed on the tyre and the harder the turn, the more likely you’ll get tyre/rim/bead separation as the tyre rolls onto its shoulder.
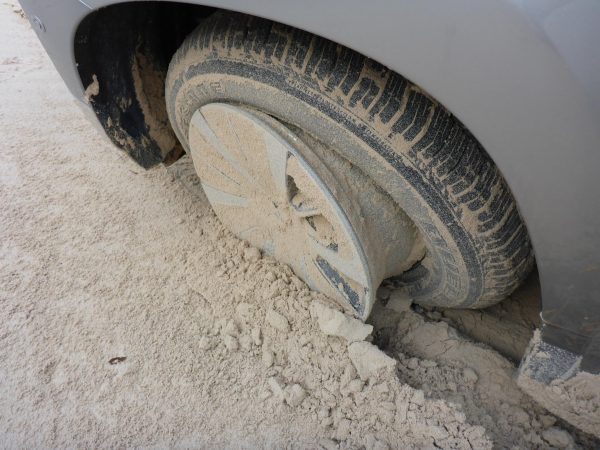
Once upon a time the accepted threshold this would occur was around 100kPa/15psi but I’m seeing it happen at 125kPa/18psi and that used to be most people’s starting point on the sand. That’s a new conundrum to negotiate and the fix for me is to err on the side of caution, using 140kPa/20psi. More pressure resists the bead’s want to slip over the rim’s locating flange.
That’s not ideal, the footprint is shorter and the vehicle will now struggle, especially if there’s zero moisture in the sand.
The “fix” for those of you with 18” setups might be to go down a size to 17” (check there is a 17” option and revealed on the tyre placard or in the specifications chart in the owner’s handbook). That will offer up a wealth of significantly better and common tyre choices in Light-Truck construction. If you must have 18” you might need to go oversize with your replacement rubber to find the fix and restore the footprint.
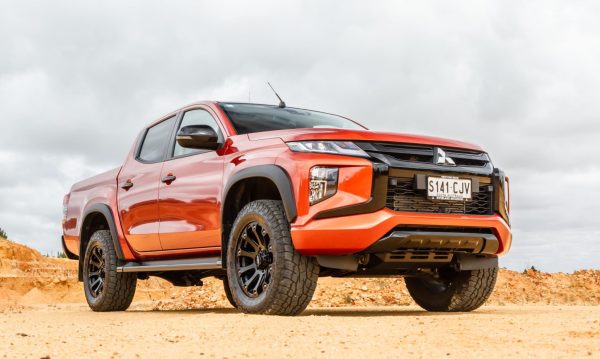
On a Triton I know we beat this challenge by ditching the stock 18 x 7.5” rim fitted with a puny 265/60R18 110H passenger car tyre, replacing the combo with an 18 x 8” rim fitted with Land Cruiser 200 sized LT285/65R18 125S light-truck tyre. The diameter difference is 825mm compared to 775mm stock which is always handy, but it required a diff-drop to keep the CV angle safe and a suspension change to get some more clearance under the guards. Doing that got our volume back but it cost some dollars!
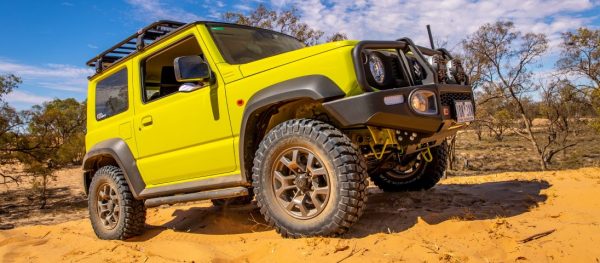
If you’re running say a Jimny you’ll likely throw all these pressure recommendations out the window because lightweight vehicles thrive on pressures around the 70kPa/10psi to 100kPa/15psi mark and they have less chance of throwing a bead with their 15” fitment and less ballast.
- Blow them back up
Letting them down was the easy bit, maybe not, especially if you’re using a knock-off tyre deflator, you know the ones that remove the valve core? The originally conceived ARB version is a quality piece of kit but the knock-offs are often wildly inaccurate and regularly hinder the exercise by ejecting the core into the scrub never to be seen again!
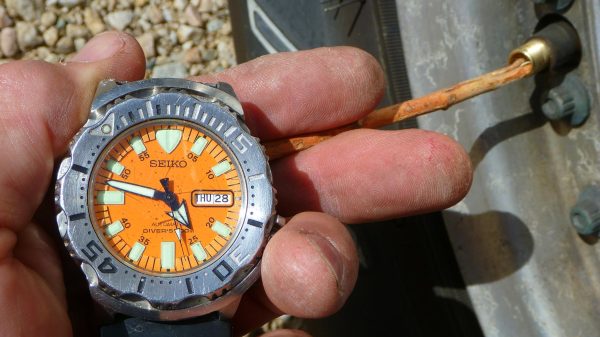
For me, I can’t go past a regular metal construction dial-type gauge to measure and a piece of stick or shell-grit to let them down. It’s simple and always at hand.
At day’s end, you’ll want to pump them up and fast.
In both my vehicles I’ve got ARB compressors ready to go. The MU-X has a single-motor model and installed in the area where the jack and tool-roll live, whilst the D-MAX runs the twin-motor version from the ute tub and accessed via the canopy’s LHS flip-up window.
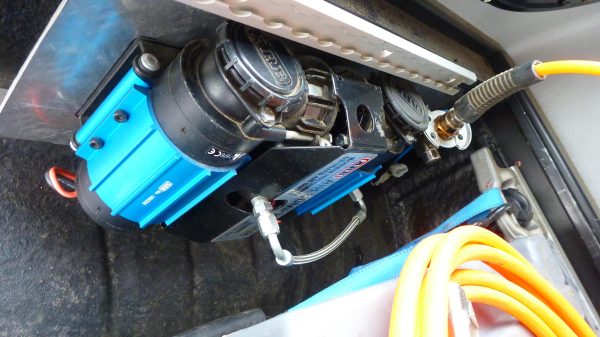
Both are fast, but the twin is blisteringly quick. If you select another brand of pump make sure you ignore the pressure shown on the in-line gauge it likely came with, as it’ll be out of whack.
- The other gear
There’s not a lot more required other than a long-handled shovel like a fibreglass two-piece version (that’s handy for the wagon folk to get it inside), so you can dig out right underneath the car and a set of recovery boards.
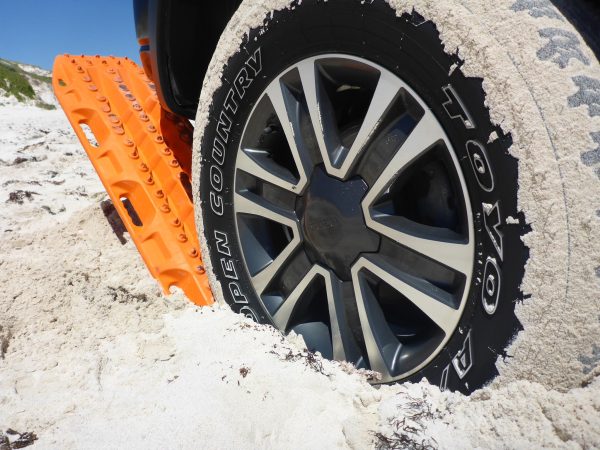
Either of the industry-leaders Max-Trax or TRED work brilliantly and I’ve even had some folk tell me they’ve used low-rent, no-name brands from eBay or the local Aldi that have worked once and destroyed (at a significantly lower price-point), but they got the job done.
- Weight is the enemy
Weight is something that 4WD owners will struggle with because we all like to carry stuff and the bigger the vehicle and load, the greater the challenge. So the way to fix that is by manipulating your tyre pressures as we described before or leave stuff behind.
It is so easy as a 4WDriver to just keep plonking more stuff in the car especially if you’ve got kids. I was guilty of it when I had little tackers and the solution after the first few trips were to just get ruthless. They’ve got a beach full of wonder to explore and the back-in-the-day Nintendo Game Boy didn’t even come out of the box, because exploring rock pools and chasing snakes was way-more exciting than a console thingy.
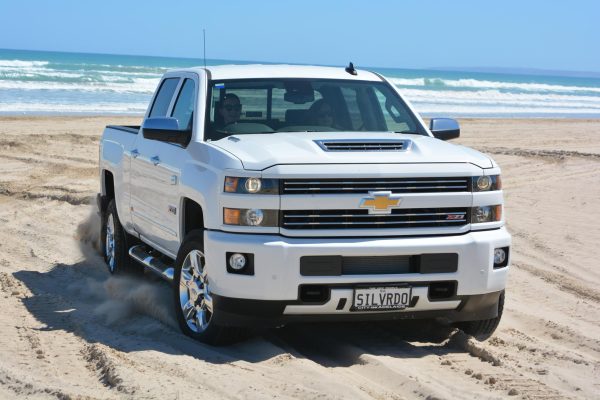
All you need is your accommodation, food, water and beverages housed in a fridge, a cooker and fuel, change of clothes and that’s about it. Even then you likely won’t use half the stuff.
- The weather and the tides
It’s all about winds and tides. All around the southern side of this land of ours, any hint of big winds coming out of the SE or SW will usually mean crap weather to be coasting. Luckily in summer the spells between those winds will be spread out, replaced by those warmer breezes coming off a scorched interior and blowing offshore and predictable.
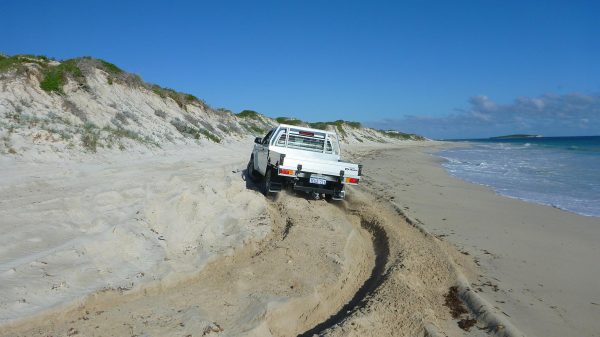
The last thing you want is a beach with a track-space that’s been compromised by a sea that’s been beaten into a lather by onshore winds, washing up against the foredune leaving you nowhere to go. That’ll be further exacerbated if you’re doing that drive on a Full or New Moon moment!


GIPHY App Key not set. Please check settings